从简单的python程序开始,了解一下Gitlab CI。
准备git仓库
仓库中放置一个python文件 : test_1.py
该文件需要满足pytest基本要求,即
- 文件以
test_开头,或者以_test.py结尾 - 文件内待测函数以
test_开头
1 2 3 4 | |
例子一
创建CI文件
仓库根目录中 .gitlab-ci.yml
内容很简单:
1 2 3 4 5 6 | |
如果要用python虚拟环境,可以:
1 2 3 4 5 6 7 8 9 10 11 | |
将其推送到gitlab远端仓库,即可自动执行。
不过这个东西只在Linux跑,怎么支持Windows?
例子二
与GitHub中的workflows不同,根目录下只有一个.gitlab-ci.yml文件,如果需要在Windows下执行Runner怎么弄?
修改根目录中的 .gitlab-ci.yml 文件,创建两个job:
1 2 3 4 5 6 7 8 9 10 11 12 13 14 15 | |
结果如下:
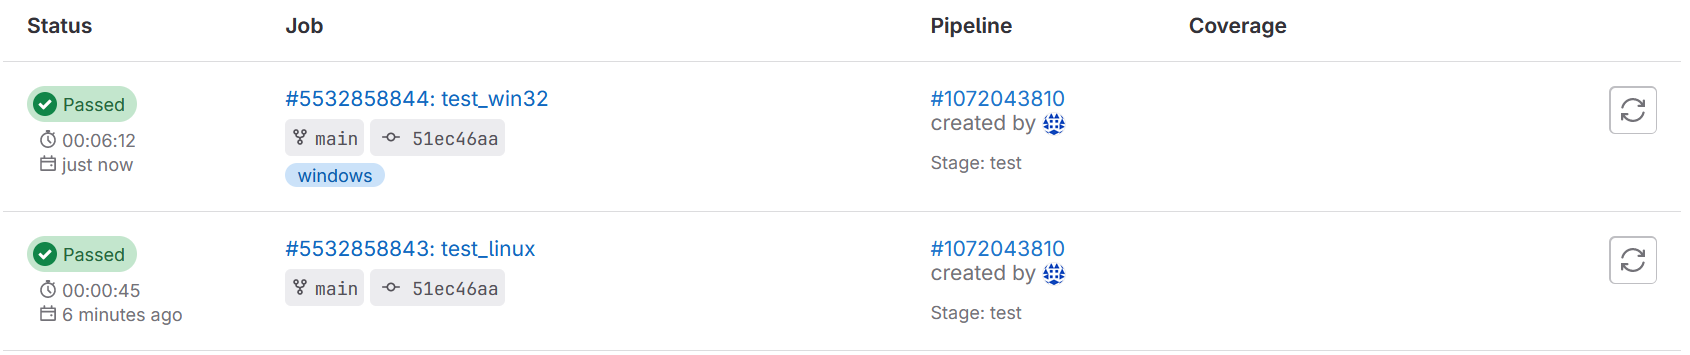
注意:Windows下的速度很慢,因为不像在Linux下可以用docker,它需要虚拟机,而且里面没有python,需要先安装。不过:
- Windows runner 的命令环境是 PowerShell。
- 在 GitLab Windows shared runner 內,预装Chocolatey,可用于安装必要的程序。
- Windows runner 不是 Docker 容器,无法在 .gitlab-ci.yml 使用
image与services。
.gitlab-ci.yml
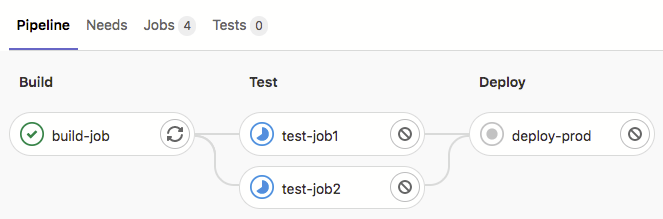
GitLab CI的Pipeline由 若干个 stage 构成,每个stage中可包含若干个job。每个job的runner都是独立的,彼此之间没有共享资源。
一个具体的例子
1 2 3 4 5 6 7 8 9 10 11 12 13 14 15 16 17 18 19 20 21 22 | |
- default设定的是默认值,其他job都可以覆盖它。
- Runner的选择需要通过tags来指定。
- 各个stage的先后顺序通过stages设置。
- 每个Job的脚本执行前,需要执行相同的指令。可以放置到
before_script中。
参考
- https://docs.gitlab.com/ee/ci/
- https://docs.gitlab.com/ee/ci/yaml/
- https://about.gitlab.com/blog/2020/01/21/windows-shared-runner-beta/