GitLab Runners可以安装在Linux、Windows、macOS 等系统上。此处只关注Ubuntu和Windows两个系统。
根据Runner使用范围,可以分为
- shared:所有人可用
- group:供某个组使用
- project:仅供特定仓库使用
区别体现在runner向 gitlab 的 register过程中。作为测试,此处只涉及project 类别。
准备
先准备两台主机,一台Windows10,一台Ubuntu22.04,因为Runner主动连接GitLab,所以在NAT内部没问题。
两台主机中都提前安装了python3,且在PATH路径中。
特别注意:
- Ubuntu下,需要
apt install python-is-python3 python3.10-venv- Windows下,需要powershell 6及以上(即 pwsh)
在gitlab上准备一个代码仓库,在项目仓库中,依次:
1 | |
它会提示选择:操作系统(Linux/Windows/MacOS)或容器(Docker/Kubernetes)
- 选择 Linux,设置 Tags(为db-ubuntu2204),点击
Create runner - 它生成一个
runner authentication token。注意保存,稍后会用到,不然用时就找不回来了。
注: 1. Windows下的runner添加方式相同。 2. 该页面下 能看到所有可用的shared的runners。
Ubutnu 下安装 runner
GitLab为生命期内的Ubuntu Lts版本提供deb包
- https://docs.gitlab.com/runner/install/linux-repository.html
安装
添加源:
1 | |
安装:
1 | |
注册 :
使用一开始提到的 runner authentication token。执行 register命令
1 | |
没有加sudo,它会运行在用户模式。
按提示 * 输入Gitlab地址: * 输入name:db-ubuntu * 选择executor:shell
executor有好多选择,比如ssh/shell/virtualbox/docker/k8s等,选择 shell 是因为它最简单,不过shell也有多种。
关于shell
https://docs.gitlab.com/runner/shells/index.html
- bash: Unix下默认
- sh
- powershell
- pwsh: Windows下默认
- cmd
配置存放在:/home/debao/.gitlab-runner/config.toml
启动
1 | |
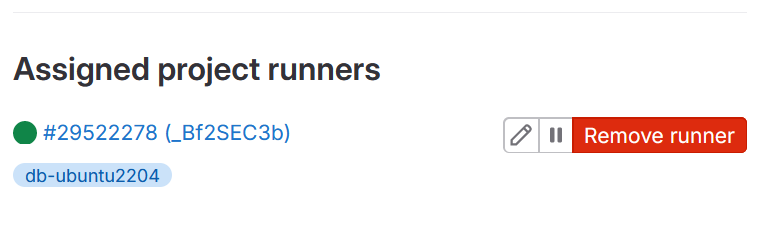
gitlab后台可以看到:
Windows下安装 runner
- https://docs.gitlab.com/runner/install/windows.html
pwsh 与 powershell
https://github.com/powershell/powershell
从PowerShell 6开始,可执行程序的名字改为pwsh, 它使用 .NET Core,可以运行在Windows、Linux和macOS系统。
之前版本的PowerShell 只运行在Windows平台,叫做Window PowerShell,可执行程序的名字却为 powershell.exe。
我们需要使用pwsh,跑CI时会有如下问题:
1 2 3 4 5 6 | |
安装
-
创建一个文件夹
C:\GitLab-Runner -
下载64-bit的exe包,将其名字改为 gitlab-runner.exe
- 使用管理员权限运行Powershell
注册
使用一开始提到的 runner authentication token。执行 register命令
1 | |
按提示 * 输入Gitlab地址: * 输入name:db-win32 * 选择executor:shell【它最简单】
配置存放在:C:\GitLab-Runner\config.toml
运行
1 | |
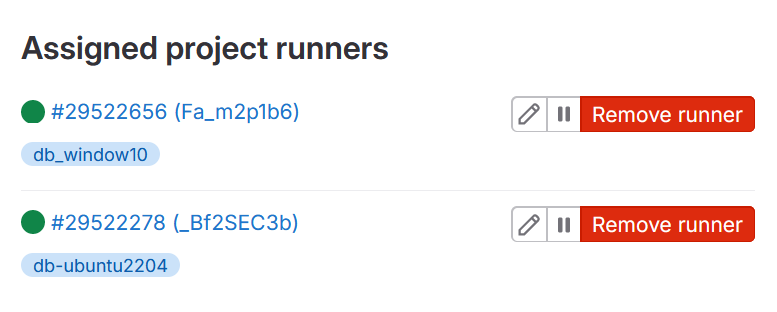
gitlab后台可以看到:
测试
看看CI能否跑通
测试1
先空跑一下,在仓库中根目录中添加一个.gitlab-ci.yml 文件,创建两个job:
1 2 3 4 5 6 7 8 9 10 11 | |
在GitLab可以看到结果:

测试2
写一个小的python程序,再试试。
仓库中放置一个python文件 : test_1.py
该文件需要满足pytest基本要求,即
- 文件以
test_开头,或者以_test.py结尾 - 文件内待测函数以
test_开头
1 2 3 4 | |
修改ci文件:.gitlab-ci.yml
1 2 3 4 5 6 7 8 9 10 11 12 13 14 15 16 17 18 19 20 21 | |
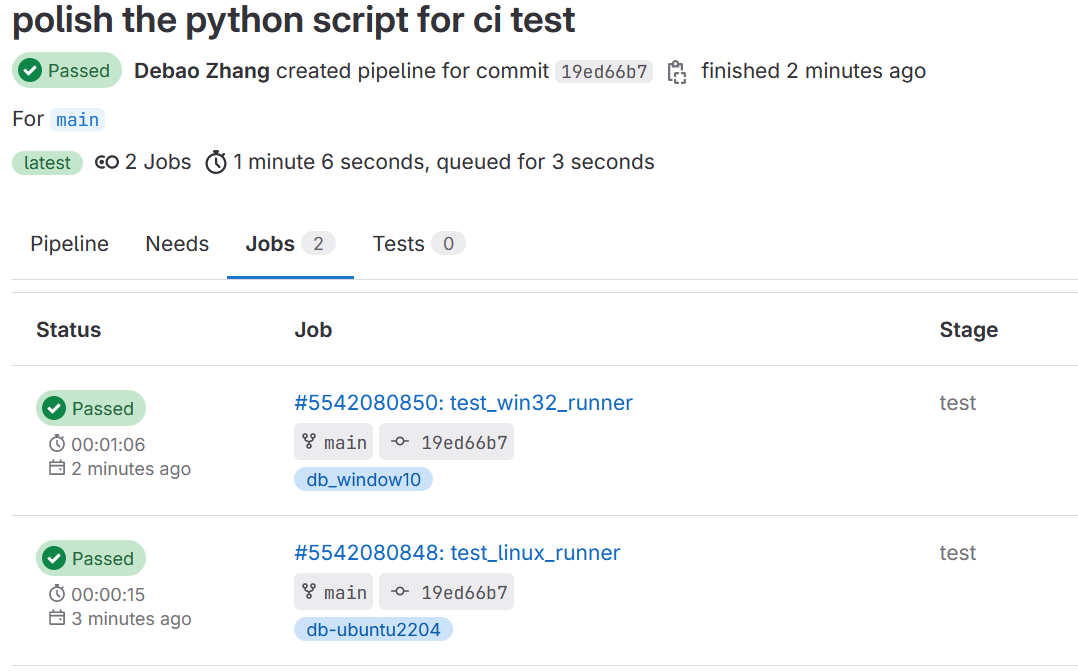
结果还算满意:
参考
- https://docs.gitlab.com/runner/install/
- https://docs.gitlab.com/runner/register/index.html
- https://docs.gitlab.com/runner/executors/